Sharpening your hunting knife with a whetstone might seem daunting at first, but with a little practice and the right technique, you’ll be able to keep your blade razor-sharp for years to come. This step-by-step guide will walk you through the process, ensuring you achieve a consistently sharp edge for your hunting adventures. We’ll cover everything from choosing the right whetstone to honing your skills for a perfectly honed blade.
Choosing Your Whetstone: The Foundation of a Sharp Edge
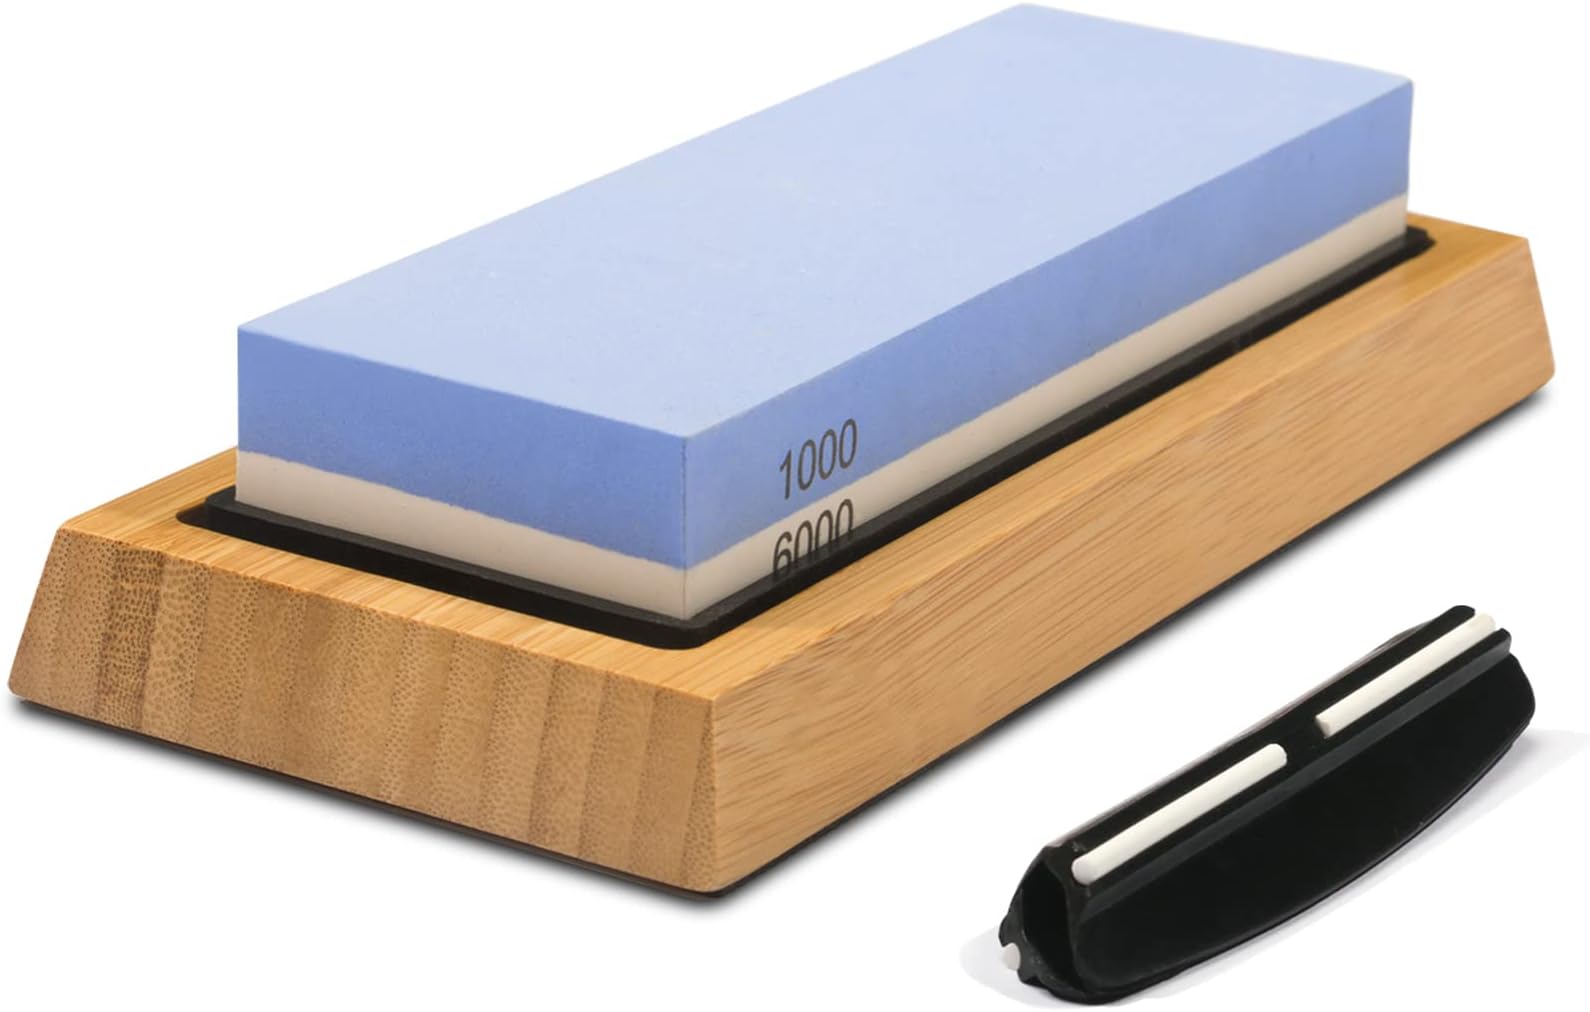
The first step is selecting the appropriate whetstone. There’s a world of options, but for hunting knives, a combination stone – typically a coarser grit (around 200-400 grit) and a finer grit (around 1000-6000 grit) – is ideal. The coarser grit removes significant damage and chips, while the finer grit polishes the edge to razor sharpness. Natural stones, like those from Arkansas or India, are prized for their durability and evenness, while synthetic stones offer consistency and often come with a more affordable price tag. Consider your budget and experience level when making your choice. For beginners, a double-sided synthetic whetstone is often recommended for its ease of use.
Preparing Your Whetstone and Blade: Setting the Stage
Before you begin, you’ll need a stable, non-slip surface. A wet towel or a non-slip mat will help prevent accidents. Thoroughly soak your whetstone in water for 10-15 minutes – or as per the manufacturer’s instructions. This saturates the stone, preventing clogging and ensuring a smooth sharpening process. While the stone soaks, clean your hunting knife blade thoroughly to remove any debris or rust. It’s crucial to start with a clean slate for optimal sharpening.
Understanding the Angle: The Key to a Successful Sharpening

Maintaining a consistent angle is paramount. Most hunting knives benefit from a 20-25-degree edge angle. To find this angle, place the blade on the stone and gently tilt it until approximately half the blade’s width is touching the stone’s surface. This will provide an even sharpening process. Try to maintain this angle throughout the entire sharpening process. Use a sharpening angle guide or try using a piece of masking tape to mark your desired angle as a helpful reference.
Sharpening with the Coarser Grit: Removing Damage and Refining the Edge
Start with the coarser grit side of your whetstone. Holding the knife at your chosen angle, make smooth, deliberate strokes across the stone. Avoid applying excessive pressure; let the stone do the work. Use consistent, controlled strokes, pushing the blade away from you and then drawing it back to repeat the process. Aim for roughly 10-15 strokes per side. Remember to maintain your established angle throughout. Pay attention to the entire length of the blade edge, ensuring even sharpening.
Switching to the Finer Grit: Honing to Perfection

Once you’ve completed the coarser grit sharpening, rinse your blade and the stone. Flip the stone to the finer grit side. Repeat the process, using the same consistent angle and smooth strokes. You may need slightly more strokes with the finer grit – around 20-30 per side, depending on the condition of your blade – to refine the edge and create a razor-sharp point. The goal here is to achieve a polished, mirror-like finish on the edge.
Testing Your Blade: The Bur Test and Practical Application
After sharpening with both grits, you can test the sharpness of your blade using the “burr” test. A burr is a very small, almost invisible edge that forms during sharpening. Gently run your finger along the edge – if you feel a slightly raised burr, this is a good sign of a successful sharpen. Carefully remove the burr by continuing with light strokes on the finer grit, alternating between both sides until the burr is fully gone. Finally, test your knife’s edge with a paper test. Try to cut a piece of paper with ease. If the blade easily slices through the paper, you’ve achieved a satisfying level of sharpness.
Maintaining Your Whetstone: Ensuring Long-Term Use
Proper care of your whetstone will prolong its lifespan and maintain its effectiveness. After each use, thoroughly rinse off any metal shavings or debris. Allow the stone to air dry completely before storing it. Avoid dropping your whetstone and store it in a safe place, away from moisture or impacts. Regular cleaning and storage will help prevent damage to the surface, ensuring years of reliable use.
Troubleshooting Common Issues: Addressing Challenges
If you’re struggling to achieve a sharp edge, revisit the angle. An inconsistent angle is a frequent cause of uneven sharpening. Also, ensure you’re using a sufficient number of strokes. If your stone is heavily clogged, clean it thoroughly with warm water and a brush. Remember that practice makes perfect. The more you use your whetstone, the better you’ll become at maintaining the correct angle and applying the right amount of pressure.
Conclusion: The Rewards of Sharpening Your Hunting Knife
![]()
Sharpening your hunting knife with a whetstone is a rewarding skill. It allows you to maintain a consistently sharp blade, ensuring efficient and safe use in the field. While it may seem challenging initially, with practice and attention to detail, you’ll soon master this essential skill. A sharp knife means cleaner cuts, increased safety, and a more successful hunting experience. Remember to always prioritize safety when handling sharp objects. Happy hunting!